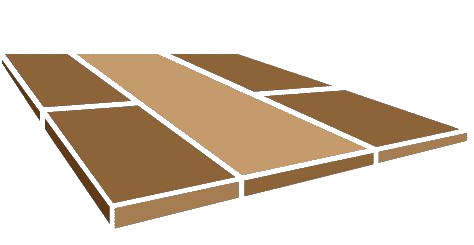
Manufactured concrete or brick and natural stone pavers both create an affordable and simple means to give your landscape its much-needed facelift.
Whether they are irregular or natural cut, pavers can add to the visual intrigue, beauty, and general aesthetic of your property that also increase its value.
Proper installation of pavers ensures that you will be fully satisfied with the results for many years. Here are the steps on how to lay pavers.
1st Step: Mark Off the Project Area
Before the actual laying process, you have to identify the size and location of the project area first and how this will work within your landscape’s scope. For this, you can use landscaping paint or chalk, or twine and stakes. This gives a better visual representation of your project area’s scale and will help reveal any possible problems like the need to build around landscaping features or utilities.
2nd Step: Plan the Layout with Care
It is not a wise idea to just lay pavers as you go with no definite action plan. Play around first with the pavers before you work with them for you to know how they will align together and what kinds of layouts, specific patterns, and designs you enjoy.
3rd Step: Excavate the Area
Homeowners often construct a patio or other projects that involve pavers from scratch. Unless you will lay pavers on top of an already existing surface like concrete, you have to excavate the spot carefully to several inches deep. For smaller projects, you can get away with performing this task with a wheelbarrow and spade, yet for bigger areas, you might have to rent special excavation equipment and tools.
4th Step: Prepare the Solid Base
A solid, stable, and level base is important to long-term functionality and your project’s beauty with pavers. After excavating your project, you will have to take time to get rid of roots, rocks, other debris, or sticks that could make an uneven base. Then, you will have to compact the soil so it will not move, settle or shift over time. You will have to pour crushed stone and quarry process to excavated areas sub-base material and tamp it down. The recommended sub-base depth is 3 to 4 inches.
5th Step: Establish Borders
You have to lay down pavers or stones that would serve as the project area’s outside borders. It’ll establish boundaries and would help keep the pavers and sand in place.
6th Step: Pour and Rake Sand
In terms of laying pavers, and is an important component. It helps hold pavers in place. You have to pour sand on the project area to a ½” depth.
7th Step: Set Laying Pavers
You have to set about laying pavers deliberately and carefully. You must work from outside edges to ensure that all pavers are spaced evenly and would fit properly within the design’s scope.
8th Step: Sweep the Surface
Once all pavers were laid, you have to sweep the remaining sand.
9th Step: Introduce Adhesive or Polymeric Sand
Polymeric sand is a great binding agent and would keep your pavers looking and functioning perfectly for a long time.
10th Step: Keep Your Pavers with Care
After laying the pavers, you must take particular steps to make sure that they continue to function and look as desired for the long haul. It is recommended to seal pavers to protect their beauty and avoid discoloration.